Supplies needed:
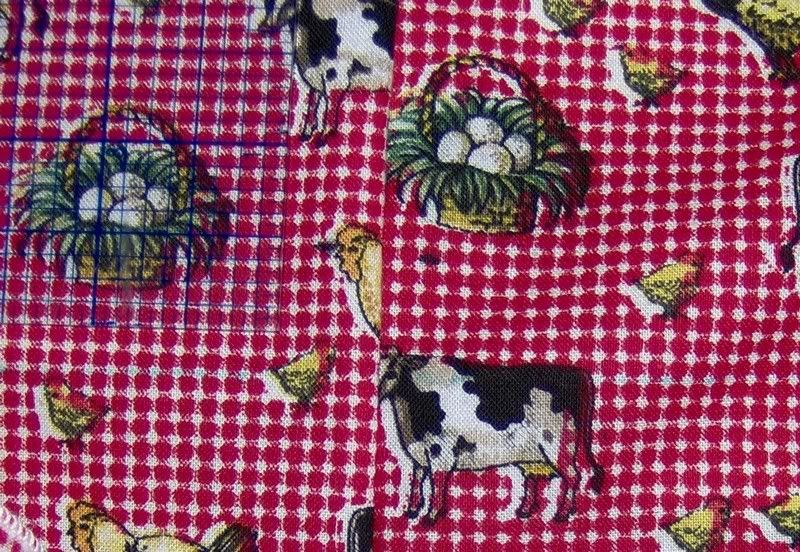
Approx. ½-3/4 yard of fashion fabric, with stretch going side to side
Crotch lining fabric – cotton or cotton blend; should be a knit of some kind
Lingerie or foldover elastic
Optional: stretch lace for waistband
Polyester thread
Ballpoint or stretch needle, size 11, give or take
Pins
Scissors
Lots of patience
Sewing machine
This will cover everything from sewing the crotch piece in to finishing the waist and legs.
Cut one front piece, one back piece, one crotch out of the panty fabric, and one from the lining fabric.
Place the crotch piece and the front body piece, both of the panty fabric, right sides together. Against the back side of the body piece, place the cotton crotch liner, right side in. Pin in place to prevent sliding.
Using an overlock stitch or a medium width/medium length zigzag stitch to provide stretch, stitch the seam.

Lay the part you’ve sewn on a flat surface with the crotch lining on top.
Take the crotch lining and pull it away from the fabric, smoothing it out.
Follow this with the panty body piece. Roll the body piece from the upper edge in toward the crotch piece, keeping as neat as possible.

Get the other panty piece and begin rolling it up like the first one. Keep it on top of the panty fabric crotch piece.

Fold the last part of the unsewn panty piece over so it is right sides together with the crotch piece. Reach over behind the roll you made first and get the panty liner fabric. Bring it over the top of all the fabric and toward the other two raw edges on the right.

Pin as indicated. You now have a “burrito,” as referred to by another much smarter earlier writer.

Using overcast stitch or medium length/medium width zigzag stitch, sew across the three layers of fabric created by this process.

As shown below, you can now unroll the fabric and turn it right side out. You should have one shiny side and one matte side.


To make it easier to apply elastic to the legs, baste the crotch pieces together a scant ¼” from the outer edges using a long straight stitch.

I played with the photo below a bit just so you can see the stitching line better.

Now, take the leg elastic and the leg sections of the panties, quarter and mark them with straight pins.

Following the pin guides, match up the elastic and the panty, right sides together. If you are using plush lingerie elastic, the plush part of the elastic will be pointing up at this time.

Using a narrow lightning zigzag stitch (I use 2.0/2.5 or 2.0/2.0) or a narrow, long zigzag stitch, sew the elastic to the panty. Align the outer edges as much as possible. Stretch the elastic to fit. Try not to stretch the fabric or it will not lay flat in the end. Go slow. It’s much better to take your time than to hurry and have a mess on your hands.

Below you will see a picture of the elastic after it has been applied to the panty fabric. You’ll notice little bits of fabric sticking out from under the edges of the elastic here and there. In order to make the rest of the project finish more neatly, it is important to carefully trim that fabric so it doesn’t show.

If you look below you can see where I’m trimming extra fabric from below the elastic on this pair of panties. Go slowly so you don’t cut the elastic!

 This shows the leg area after trimming.
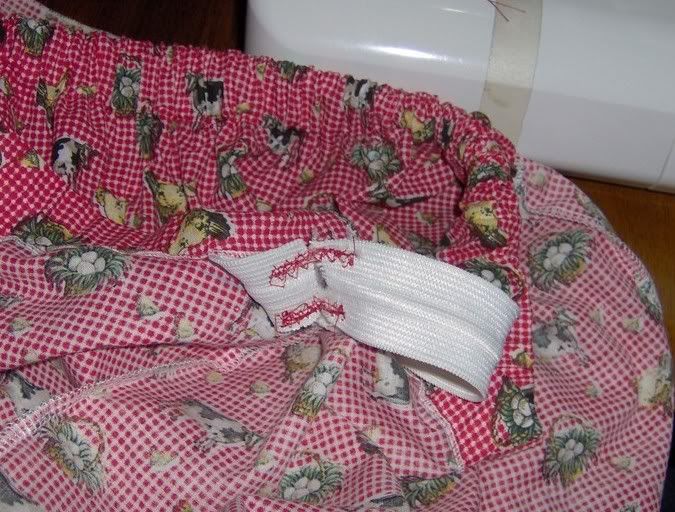
Next you take the elastic you sewed to the leg openings, turn it under, and stitch it again so that the edge of the elastic doesn’t show from the outside.

Here you can see the legs with the elastic sewn to the inside so that only the trimmed edge shows on the outside. The plush, soft edge is toward the body.

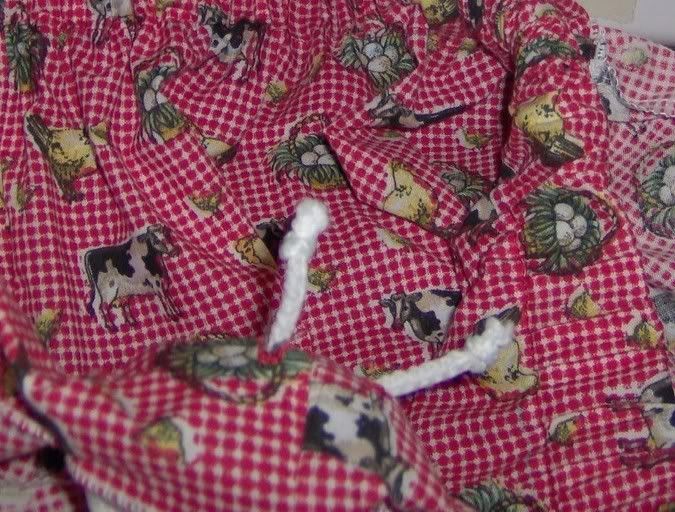
Next, sew one leg opening shut. Start at the top and work your way to the bottom. Ease as needed so that the edges match as much as possible.

You will have a raw edge left after sewing. It’s best to tack this piece down so it looks more smooth and won’t be rubbing against your leg.

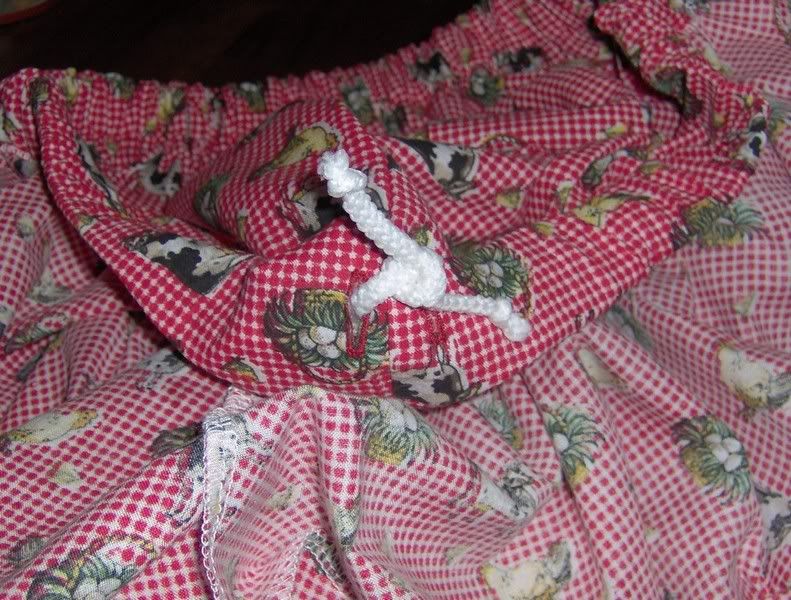
Find which way the elastic will fold the most smoothly, turn it in that direction, and proceed to tack it down using the same stitch you used for attaching the elastic to the panties in the first place.

 This topstitching will leave you with a smooth, attractive leg join as well as decreasing the chance of any raveling at the edge of the elastic edging.
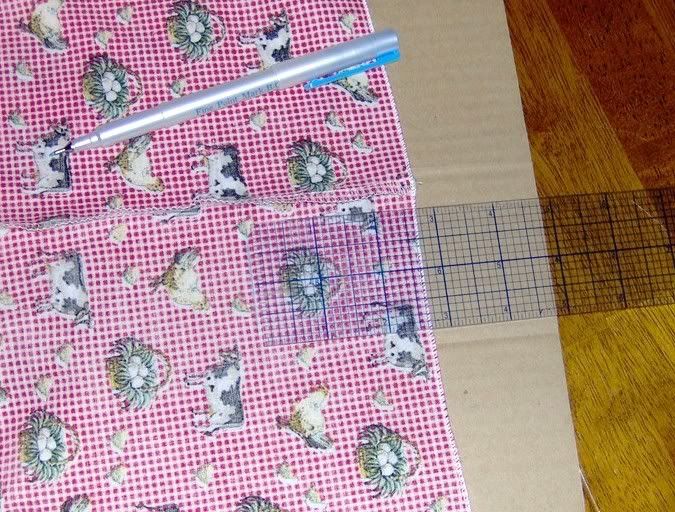
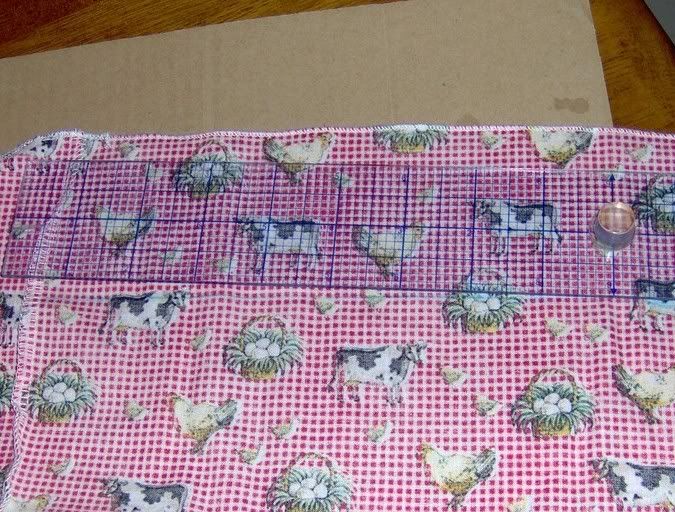
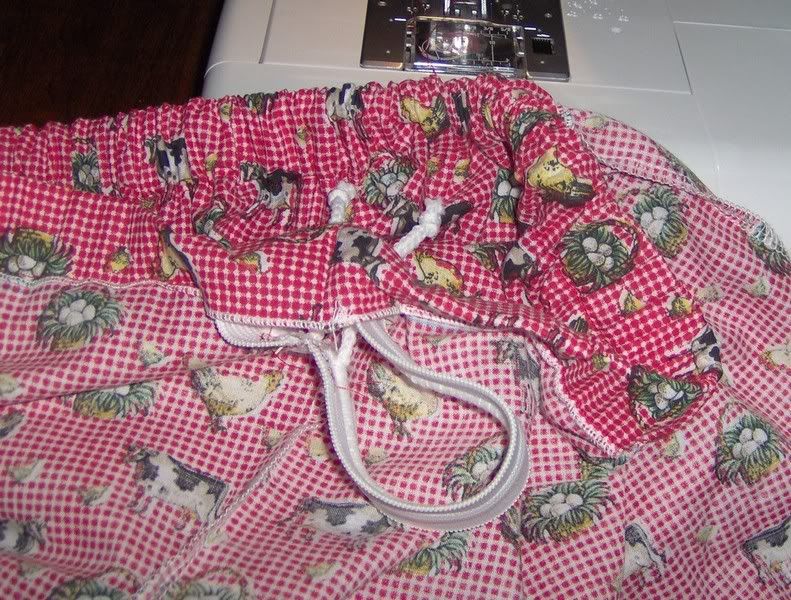
For this project I have chosen to alter a regular panty into a hipster or low-rise style. I don’t have a specific pattern for one, but it is easy enough to alter a full-cut pair with a ruler and rotary cutter or scissors. I’ll be using stretch lace for the upper band on this pair so I can show you how to apply it.
First, you decide how much you want to take off the top. I don’t want mine too short or they’ll roll down; therefore, I’m just going to remove a piece the width of the stretch lace band, which also just happens to be the width of my ruler.
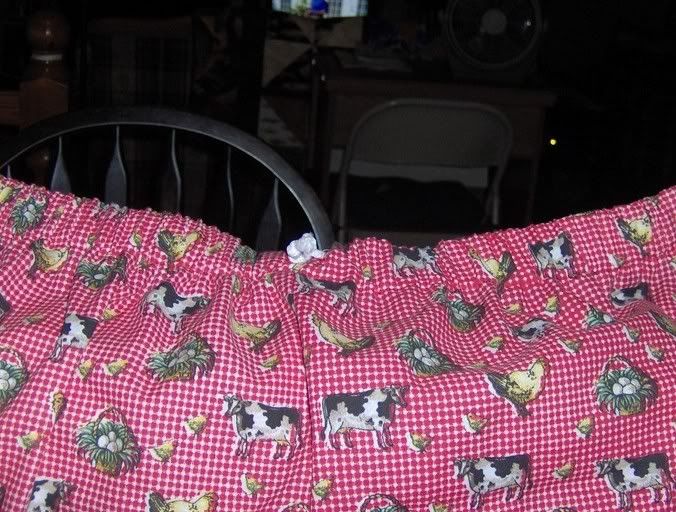
Align the front and back of the panty so that the top is even all the way around. Fold in half and place on a ruler mat. Using the ruler and rotary cutter or marking with a water soluble pen or marker and then cutting with the scissors, remove the desired amount from the waist area.
See photos below for clarification.


All that’s left now is to apply the waistband. You can either use elastic and the same technique as you did with the legs, or you can use stretch lace. For the sake of learning, this example uses stretch lace. First off, sew up the remaining leg seam and finish off the bottom just the way you did the other one.
Now, cut a piece of stretch lace the measurement of your waist/hip area minus 6”-8” depending on the stretchiness of the lace and your waist measurement – the larger your measurement, the more you can take off.

Using the zigzag stitch from earlier, sew the short edges of the stretch lace right sides together. Repeat. Trim the raw edge, turn to one side, and apply the zigzag stitch again to tack down the edge so it lays flat.

Quarter and pin the elastic and the panty like you did with the leg elastic earlier. It might be tempting to think you can do this without marking, but it is far better to take the few extra minutes to measure and mark.
Slide the stretch lace over the outside of the panty, right sides facing out on both. Align and join the lace and panty where the pins match up. The raw edge of the panty will be in line with the top of the stretch lace.
 If you have a larger waist or hipline, like I do, you may want to divide your quarters in half in order to keep the stitching a little more even. It is not essential, but it will help you a bit and your stitches will look a bit more professional since they will be more evenly divided along the top line of the panty.
Now, using a regular width lightning zigzag stitch or a normal zigzag stitch, attach the stretch lace to the top of the panty, stretching the lace as needed to fit. Try not to stretch the fabric as it can cause puckering. The thing to remember is to go slowly and not try to fly through it all.

Here is the finished inside view of the top of the panty with the stretch lace applied.

Using your scissors, carefully trim the fabric between the stitching and the top of the panty; leave only the stretch lace as a waistband. The zigzag stitch you used to attach the stretch lace will help prevent raveling.

The trimming is all done.

Here are my finished hipsters.
 This method or any combination of it can be used for hip huggers, full briefs, bikinis, or any other style of panty you’d like to make.