
As in method #1, once you get your garment assembled, finish the top edge. For this pair I used a rolled hem - I was playing with my new serger. You can do this, fold over a small amount and straight stitch it, use an overlock stitch, or use a zigzag stitch; whatever you are most comfortable with is fine.
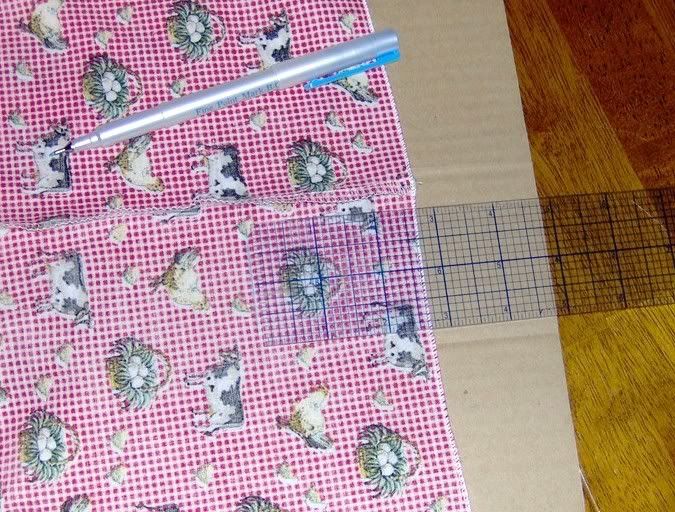
Take your drawstring elastic and cut it your waist measurement minus enough for the elastic part to be comfy, generally 6-8 inches. This, however, varies with your size. Pull out 3-4 inches at each end and knot off to prevent them slipping back inside the elastic. Once you have done this, measure the width of the elastic and then go over to the garment. Using a ruler, measure 2 times the width of the elastic plus 1/4 inch and mark a spot on the fabric with a disappearing marker in a color dark enough for you to see.
Using the ruler and marker, continue to mark this same measurement all the way around the waist of the garment about every 3 inches. Again, use a washable or disappearing marker and make the lines dark enough for you to see.
Lay the garment flat on your work surface. Using the ruler and marker, connect all the lines you have drawn so far to mark the sewing line for the casing. Make the marking dark enough to see because you will be using this line in a while.
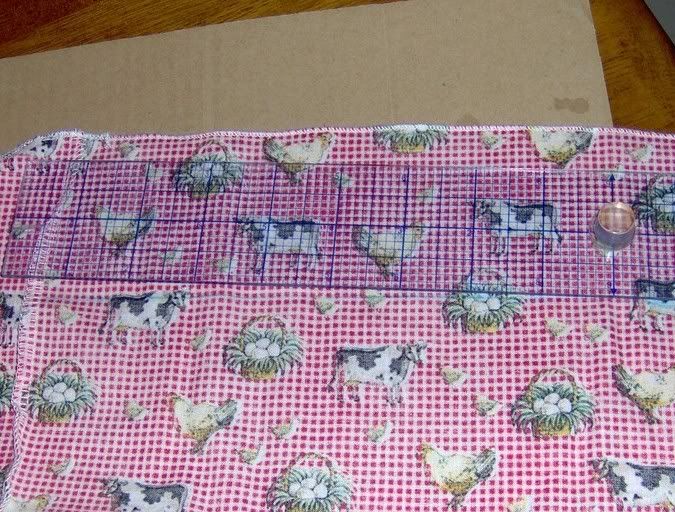
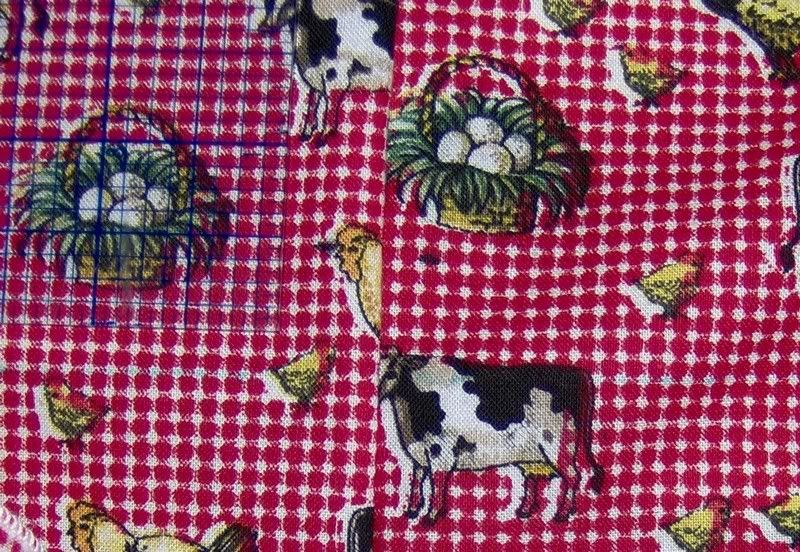
Here is a picture of the line drawn all the way across the fabric of my lounge pants. It's not very dark in the pic but it was clear enough for me.
NOTE: As an alternative, if you don't have a water soluble marker, you can use straight pins to mark your seam line. Don't necessarily run out and buy one if you're only going to use it this one time. I've used pins myself several times and they worked just fine.
Measure the how far up from the bottom of the elastic the drawstring is located. At the center front seam of the garment, go to the bottom line and measure that far up from it. With a dark marker, make a little hash mark on the outside of the fabric to indicate where the buttonholes should be located for the drawstring.

Cut two pieces of fusible interfacing about 2 inches by 2 inches and iron them to the back side of the garment close to the center seam and slightly below the mark for the buttonhole. This will strengthen the fabric in the area where you will be using the drawstring to adjust the waist of the garment.
Make the buttonhole, sewing on the front side of the fabric and using a 1/2 inch button to guide the size of the hole as indicated in the previous method. Use the pins across the ends to provide a guide to safely and gently cut the buttonhole open.
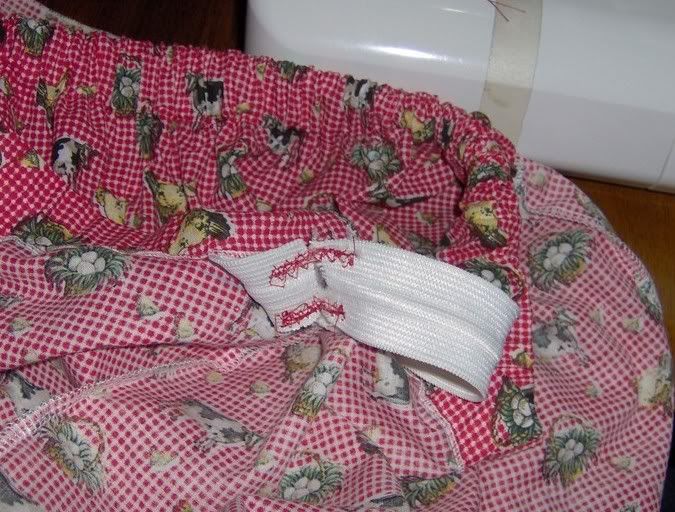
Once the buttonholes are sewn and cut open, fold the top of the garment down and pin it so that the edge lies along the line you drew all the way around the waistline earlier. Leaving an opening in the front of the garment to feed the elastic through, sew a straight line between about 1/4 inch from the finished edge of the fabric. If you'd rather, you can do an elastic stitch or regular zigzag stitch and just guide it to secure the edge of the fabric to the garment. The opening for the elastic should be about 1 to 1/5 inches on each side of the center front seam depending on the width of the drawstring elastic you will be using.

Once the casing seam is sewn, take the drawstring and turn it bumpy side down so the side facing you is smooth and the sewing that encases the drawstring isn't visible. Keeping the bumpy side dwon, take a safety pin or other elastic guide and feed the elastic through the casing, taking care to secure the end that is not being guided though so that it doesn't slip into the casing. You need about 3 inches of each end of the elastic outside the casing in order to finish sewing it.
After the elastic is threaded through, you need to put a piece of fabric the width of the drawstring elastic and about 4 inches long behind the elastic so that you can sew the elastic part together. I use a piece of interfacing or scrap fabric. This stabilizes the seam and also gives you a little more protection while you are sewing since the elastic stretches and will get all out of shape. Using a zigzag stitch, start at one end of the supporting fabric and go all the way to the other end. Turn and repeat twice, stretching gently so that the portion of the elastic being sewn doesn't have the feel of being all stretched out and having lost elasticity. Do this stitching on the bottom and top of the elastic, making sure not to catch the drawstring into the stitching line while you're doing it.
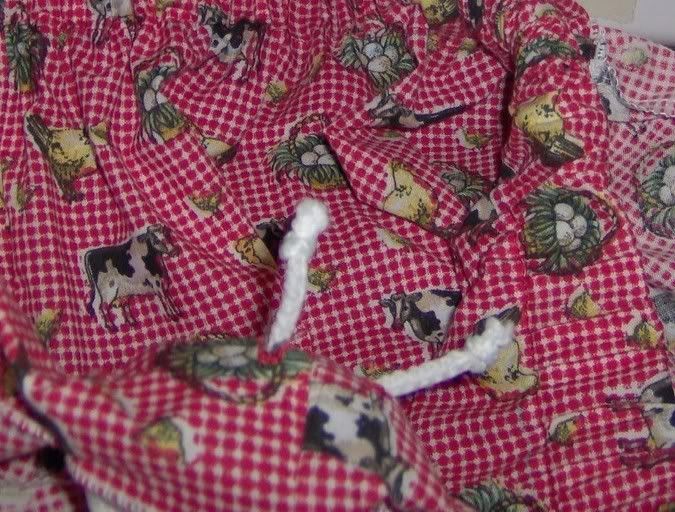
After the elastic is secured, feed the drawstring through the buttonholes and adjust the drawstring elastic inside the immediate area of the casing so that the joining area of the elastic is between the buttonholes and the drawstrings are directly behind the buttonholes. To secure them for the moment, use a straight pin or safety pin and fasten the area with the pins so that it doesn't slide around.
Once the drawstring is through the holes and secured, tie it in a loose knot. This is yet another way to make sure things stay the way they should be. After you tie the knot in the drawstring, take the pins loose so that you can fit the elastic into the casing. You can secure the area between the buttonholes if you wish to by pinning the elastic into place - again, this keeps it from sliding around while the garment is finished.
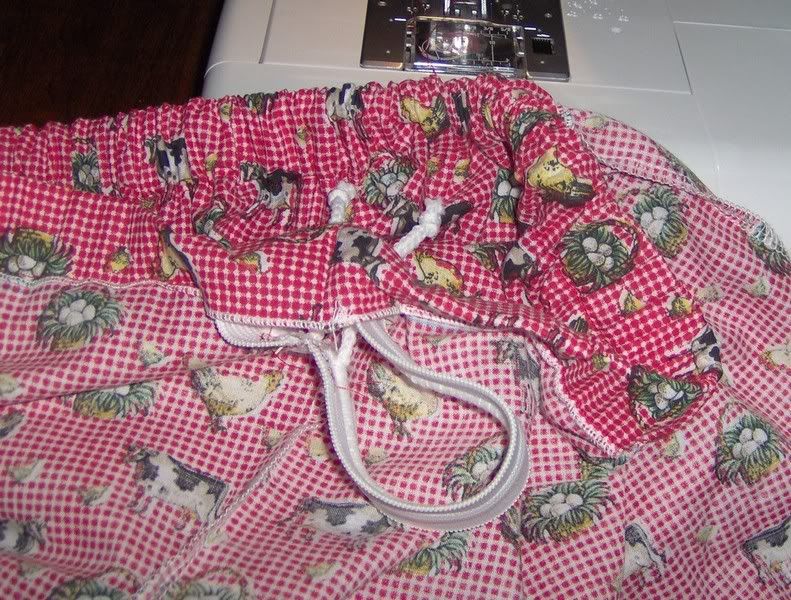
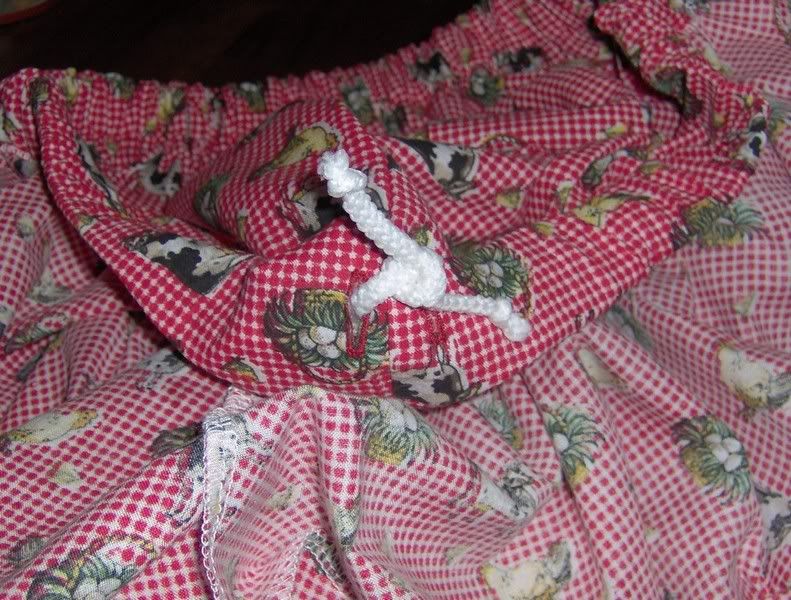
Take hold of the garment and stretch the casing, working it until the elastic disappears into it. It should not show outside the area that is open. It might take some work depending on how well you made the casing. If it is just a bit tight, it will require extra maneuvering to work the elastic/drawstring combination into the casing. If it is a bit too wide, you may have to deal with the elastic flipping over upside down, at which point you will have to work it back around so it's facing the same direction all the way through the casing.
Now that the elastic is all located inside the casing where it belongs, you can pin the opening in the casing closed and stitch across it with a simple straight stitch, either lock-sewing or backstitching at either end to make sure the thread doesn't unravel. When that is done, turn the garment around and untie the drawstrings. If you wish, you can sew a line up and down where the drawstring and elastic meet to keep them where they belong. However, if you don't want to, it's not a big deal.

All done!
2 comments:
THANK YOU SO MUCH, FOR YOUR HELP ON DRAWSTRING ELASTIC APPLICATION..
GOD'S BLESSINGS,
BETTY
Thank you so much for this tutorial. It is very clear and easy to understand ... now I just have to "do it".
Post a Comment