Thursday, September 3, 2009

recovering


It's been almost 2 weeks since I had my surgery. I'm starting to feel a lot better.

I had carpal tunnel and median nerve release in my left arm. The median nerve is the same one affected by carpal tunnel syndrome; it's just further up the arm. My scar for that one starts just above my left inner elbow and proceeds about 8 inches down toward the wrist in a long, wide zigzag fashion. I went on Monday and the doc removed the stitches and applied a fresh dressing, which you can see in the pic I posted. My fingers work well, I'm doing simple physical therapy exercises as well. I'm hoping that will give me a jump start on things once I'm out of this ace wrap.

I'm hoping that when I go back next Saturday I can get the dressing and ace wraps off and just wear a splint. I'm dying for a shower. Hubby and I have worked out a routine for my bathing - thank goodness we have a garden tub! However, I do need a nice, long soaking shower.

J has had several smaller seizures since he started on the Tegretol. I'm hoping they call the doc to let him know. It's hard for him knowing his dream of driving a big truck, one he had trained for and already done for a few years, is now out of his reach permanently. Understandably, they won't allow someone with seizure disorder to drive an 18-wheeler. He did qualify for Medicaid because neither he nor his girlfriend have worked in over 2 months; that will help with the cost factor. He also found out that because of all this mess he qualifies for Voc Rehab assistance with job seeking as well as training for any job he will be able to do considering his health issues. It will also benefit me because they won't be hitting me up for money for the doctor or for medication.

I'm tired. This arm makes it very hard to sleep when added to my other diagnoses because it's tough to find a position to sleep in without hurting the arm or face or lying on my tummy; pretty much, I hang out in my recliner. I even got one of those chair-type bed pillows but it interferes with hubby's sleep space as well as mine. I just want it over. I want my arm back.

I ordered some electrtic scissors. It's going to be a while before I can use the regular ones, and I need to sew stuff for Christmas so I needed something to help me out. At least with the scissors I can cut the items out more quickly; that will give me more time to sew. I'll need that due to the decreased mobility in my arm.

Okay. I need to get going. Blessings to all.

Monday, August 10, 2009

Tutorial for boy's briefs - Part 1

Note: Clicking on the photos will open up a larger sized one so you can see the details better.

Assemble your pattern pieces. If it is a multi-sized pattern, it is best to trace the size you need and cut the pieces out so you don't ruin the other sizes; it is also easier to cut the right size out if you do this.


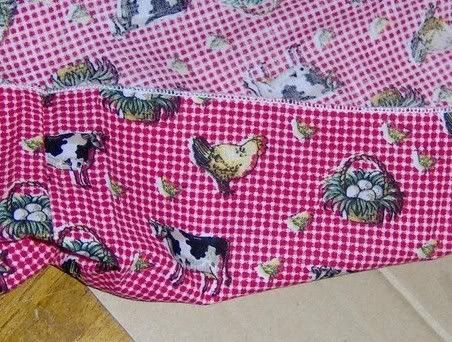
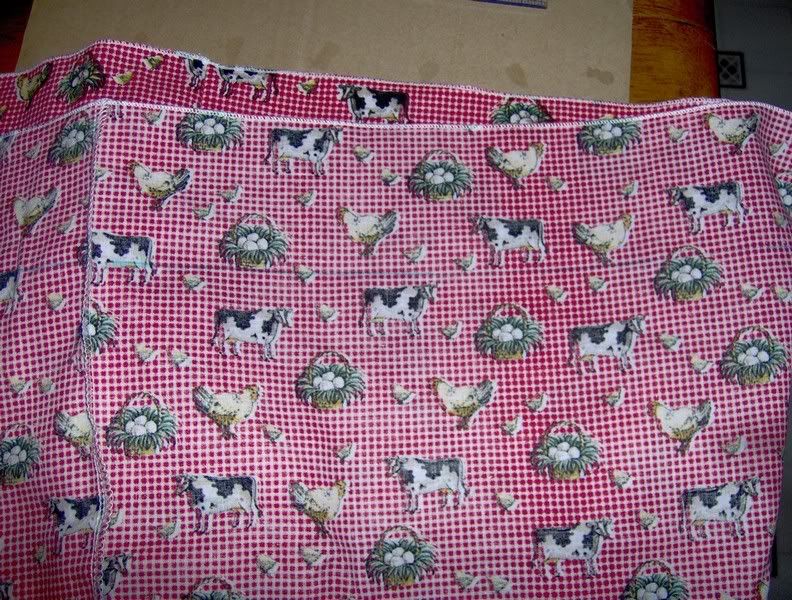
Lay out the pattern pieces on your fabric. I chose a print for the body of the briefs and a solid for the fly facing, fly stay and leg bands, so you only see the brief body in this picture. You can pay a good amount for pattern weights or go to the local hardware store like we did and get several 3" washers and use them. The last pattern weights I saw for sale were nothing but washers covered in fabric anyway!


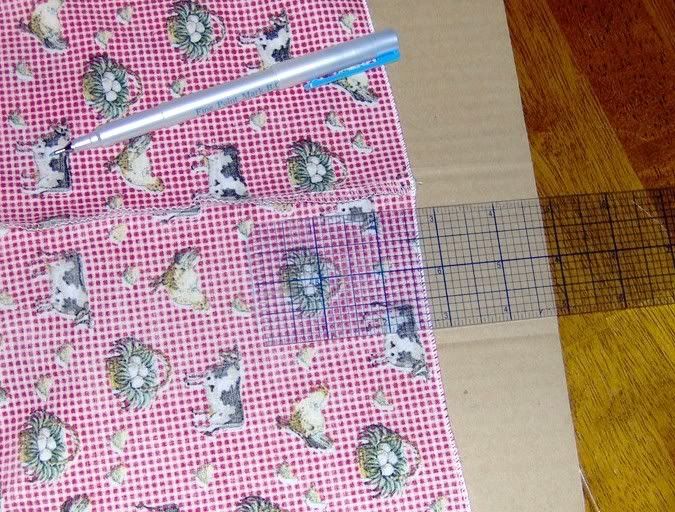
I traced around the pattern since I am using weights. Notice on the pattern that I transferred the marking for the fly stay. This will be an important marking to have.


Fold back the pattern along the fly stay line and mark the fabric on both sides - you can do the back side after cutting out the brief body piece by turning the pattern piece upside down and folding it so the line shows.


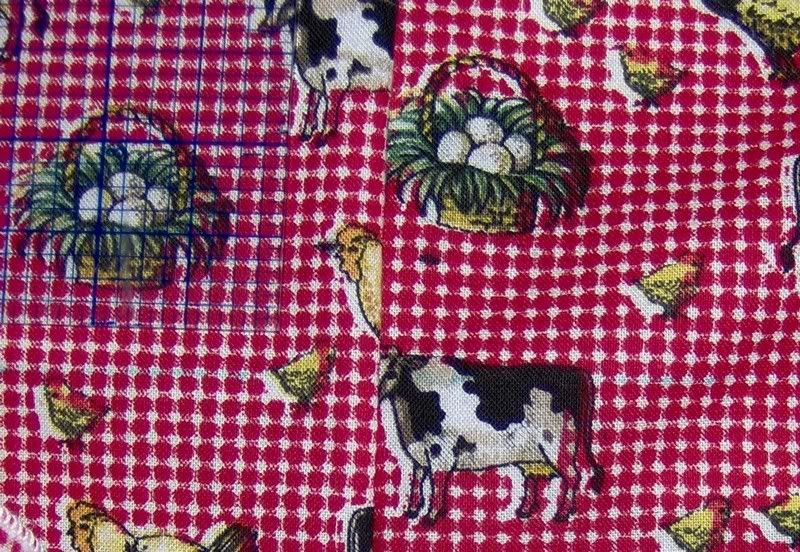
Here you can see the line traced onto the fabric. You can use a washable marking device; I used a regular fine point marker since this will be covered and it really doesn't matter if it washes out or not.


Cut out the fly stay, fly facing and leg band, making sure you have the stretch and grain of the fabric going in the right direction.


Here are my three solid color pattern pieces cut out from a coordinating fabric.


A picture of the pattern pieces all cut out.


Leaving a small amount extra on each end, pin the fly facing to the brief body. If you are using a printed fabric or one with an obvious right and wrong side, you want these pieces right sides together. With my fabric, it doesn't matter because ribbing is the same on both sides. Sew to the body with a medium width zigzag stitch or narrow serger stitch. I prefer the regular machine since there is so much regular stitching on these briefs. With my standard Kenmore, the width is 2.5 and the length is 2; with my Janome QC4800 the length and width are both 2.5.


Here are both the fly facings sewn to the brief body.


With the seam facing away from the brief body, fold the rest of the facing over it and then under the seam. Pin in place. You will have leftover fabric overlapping onto the brief body.


Using the same medium zigzag stitch, sew on the top side of the brief close to the seam line. This will leave you with a narrow band of fly facing covering the seam.


Turn the brief over and trim the excess fabric from the fly facing, being careful not to cut through the brief body piece.


Lay the brief body on a table so that the fly pieces overlap and the dart at the top of the briefs matches up. Pin along the fly stay lines from the top of the brief body to the bottom of the fly facing, leaving room for the machine to baste the center piece.


Using a long straight stitch, baste the center pieces together. This will make the next several steps much easier than if it is left un-basted.


Using an iron on the appropriate setting, fold the fly stay in half lengthwise and press it into place. If using fabric with a print, fold the fabric right sides together.


Open up the fabric and, one side at a time, fold the center in to the middle and press it into place, wrong sides together. Don't iron it back and forth or you will stretch the knit out of shape.


A picture of the two pieces of fly stay pressed as directed with folded sides up. It is, in effect, a piece of self-fabric bias tape.


Slide a piece of cardboard between the front and back of the brief body to keep the pieces from being pinned together during the next step.
Carefully pin the fly stay, folds down, along the fly stay line you traced onto the fabric, having the line in the center of the fly stay. Make sure both pieces of brief body fabric are under the fly stay. The bottom edges of the facing will be right at the outer edge of the fly stay.


(Note: at this point you may need to switch to a larger needle to avoid skipped stitches, if you haven't already done so.)
Using your medium width zigzag stitch, sew a seam down both sides of the fly stay, making sure not to catch in the back of the briefs while sewing. Check to make sure that at least one of the seam lines catches in the edges of the fly facing and up to the top of the edge of the fabric above it.


Lay the briefs on your work space with the waist toward you. Folding up the top piece of the overlapping fabric, pin the bottom piece to the back of the brief wrong sides together, matching notches.


Turn the brief over so the back is facing up, placing the part you pinned toward you and the other part of the free flap away from you. Roll the top edge of the brief down toward the pinned edges of the brief.

...Continued in next post...

Tutorial for boy's briefs - Part 2

...Continued from last entry...


Bring the flap of fabric up and around the rolled-up briefs body so that it matches up with the pinned part. Removing one pin at a time, add this flap to the other two pieces of fabric, with the right side facing the other pieces.


Back view of pinned sections.


Front view of pinned sections.


Using an overlock stitch, a slightly longer than normal straight stitch finished with a zigzag stich, or using a serger, sew and finish off the edges of the crotch seam.


Turn right side out and pin the lower edges of the fly stays to the darts on the front of the brief body.


Starting at the pins, baste the edges of the crotch pieces together. This will make applying the leg bands easier.


A pic of the basted crotch area.


Take the leg bands and, right sides together, sew the short ends together with a straight stitch.


Fold the pieces wrong sides together, lengthwise, and mark the center opposite the seam. Mark the center opposite the crotch seam on the brief body. Match up the seams and centers and pin. Stretching the leg band to fit, pin in a couple places between the other pins so that it is evenly distributed. Sew bands to brief body using a medium zigzag stitch.


Fold the bands over the seams and under them, then pin to make a narrow leg facing.


Using the medium zigzag stitch, sew around the top side of the binding close to the seam.


Picture of the leg bands applied to the brief body


Cut elastic as directed in your pattern. Note: My pattern calls for 1 1/4" elastic, but since my grandsons wear a size 6, I used a 1" elastic instead. I've also used FOE. It really doesn't matter as long as it looks nice.


Using a straight stitch, sew the elastic right sides together at the short ends. On most waistband elastics, one side is a bit softer than the other; this is how you can tell which side is the right side.


Finger-press the seam open and sew it open using a lightning zigzag stitch.


At this point I applied the top only of the size tag over the center back seam.


Using pins, quarter and mark the elastic and the brief body. Slide the elastic over the briefs and line up the pins and attach the elastic to the briefs, placing the wrong side of the elastic against the right side of the brief body.


Sew the elastic to the brief body, using a lightning zigzag stitch and stretching the elastic as needed.


Trim the fabric under the elastic, being careful not to cut through the elastic or briefs fabric. At this point I attached the bottom of the size tag with the lightning zigzag stitch so it conceals the center seam; this helps prevent irritation and itchiness.


A picture of the finished briefs.


A picture of the 3 pair of briefs I made this weekend for my daughter's 3 potty-trained boys.

Thursday, June 25, 2009

I see better now....

Yesterday I went to get my eyes checked. It's been hard to see to thread needles and my glasses have been giving me headaches. It had been just over 2 years so I figured it was time, anyhow.

The girl at the new office checked my script in both lenses. She did the right one first. Then she did the left one. She did it again. She held it up to the light. She ran it over the scanner. She did the left lens again, and then again. By this time even I knew something was up.

Apparently the lab that WalMart uses for its glasses put my progressive lens in the left side....
UPSIDE DOWN.
I've been wearing them that way for over 2 years, trusting that they were correct, and not understanding the headaches and why things just didn't seem to be right. I thought my eyes were getting worse faster than before.

Once she told me this and I put the glasses back on, I checked. I closed my left eye. I read something from my right eye. Then I closed my right eye. I couldn't read from my left eye - until I looked out the bottom of my lens on that side.

The doctor who checked my eyes confirmed what the tech had told me. I've been wearing glasses that I paid decent money for that are half upside down, and I've been wearing them that way for over 2 years.

I paid for the exam and the new glasses, which set us back $405. That hurt!

I came home and made a call to WalMart. I will be getting AT LEAST a full refund for my glasses. I may ask for more since I've had increased pain and headaches due to one of my lenses being, unknown to me, upside down; I've had to increase my pain meds, pretty strong narcotics, in part because of those increased headaches and the associated pain; and who really knows the effect that has had on the muscles in my left eye as well as the strain on my right eye as it tries to compensate for the blurred vision caused by an upside-down progressive lens in the left eye?

Apparently they are supposed to double check glasses when they come in. More than apparently, my glasses were not checked. This is negligence. This is frustrating. I have no idea, and will not know until my new glasses are on my face and my eyes are used to having glasses that work like they should, exactly what effect this has had on the pain in my face and head.

I guess this is kinda past stunning. I don't know what to say or how to say it. In a way it's almost, though not quite, comparable to the staff at the hospital not giving my son's girlfriend her post-birth Rhogam shot, lying to the doc about it, and charting that it was given. Both are sheer negligence as well as blatant dishonesty.

It's sad. It's frustrating. It hurts.

I can't wait to get my new specs. They should be done tomorrow.

Blessings to all.

Monday, May 4, 2009

Measuring for plus-size bras

note: some of this information was obtained from other sites on the Web. They are credited appropriately. ---- Trisha

==========================

***FOR PLUS SIZE WOMEN***

Measure your underbust and take it to the nearest inch.
Measure your overbust (around the back, under the arms and over the highest part of the bust) and take it to the nearest inch.

Now, use the largest of these two numbers as your band size. If you add 4-5 inches to your measurement, your bra will be falling off. The alternative would be that your breasts will be falling out under the band.

For the cup size, you add an inch to the measurements for smaller women. 2 inches is an A, 3 is a B, 4 is a C and so on.

You will find this is far more accurate when you are a plus-sized woman than the chart they have created for smaller women.

In case you wonder, I got this information from a site that describes measuring breast size - it was written for women who have had restorative surgery after a mastectomy or for women who have had a reduction or other surgical breast changes like a lumpectomy or so on. It's the only time I've seen it and it works for my daughter, her friends and I every time.

According to several sites, the "add 4 or 5 inches" rule only works for women whose ribcage measurement is 33" or smaller.
Bella Online; Plus Size Bras
PlusSizeBras.info; Plus Size Bra Fit


I hope this helps.

Wednesday, March 25, 2009

Having fun

I belong to a Yahoo group called CoveredCaboose. They deal mostly with wool and bamboo fabrics for diaper making; they also sell some really neat knits and other fabrics. In addition, the group Mom has a pattern line called Ditto Daddy. I bought one of the patterns last week and made Little Miss A, my up-and-coming granddaughter, some new onesies. These are made specifically for babies who are cloth diapered. The name, fittingly, is Ditto Daddy Cloth Bum Onesies.

If you look, the snaps for the crotch aren't in the middle of the bottom. Now that place is hard enough to snap on babies wearing paper and plastic and petroleum diapers. There's a fullness to a diaper that doesn't lend itself to being squashed in the most abundant part. Oh no; these onesies snap up on the tummy, over the big mushy soft fluffy cloth diapers keeping the baby comfy and feeling all fuzzy. I have a snap press, like several other cloth diaper making people, and it makes applying the poly resin snaps much easier, not to mention a whole lot more fun because of the color variations and possiblities.

The tummy snap area, as well as the crotch one, is reinforced with my special blend of little pieces of fabric that allow stability while keeping the snaps from being pulled away from and possibly out of the fabric with repeated usage, which anyone who has ever diapered a baby knows their clothing gets a lot of.
So anyhow...I think this is my favorite pattern. I'm glad I bought it. The pattern itself is a little odd-looking at first but it explains itself fabulously well once you get going.
I will be using it again.

Now this dress is made from a Simplicity 50's retro pattern. It is also for Little Miss A, hopefully on her homecoming day (per Oma tradition). Before anyone thinks it - yes, I did put the snaps bottom side out. I happen to adore those little butt-ruffles and want to see all of them. The flat front is not as interesting as the ruffles, and little girls in ruffled diaper covers look absolutely adorable. The bonnet went together in a snap. I was really surprised at how easy it was to make. Actually, the whole pattern was pretty easy.


Here's a pic of the back of the dress and the whole lilac part of the diaper cover, which, by the way, is lined with Kona Snow fabric as is the bonnet, and the cover contains a hiddlen layer of PUL in case of leakage. Nothing like baby surprises on your Sunday best.

I also reinforced the snaps for the diaper cover with a layer of thick fabric so that they are stabilized and stronger. I don't want to take any chances.
I can't wait to see how son and his girlfriend like this outfit. They love the onesies. Nobody else will ever have one just like this one because it is made by an individual for an individual. No mass-produced BigBox dress-in-a-bag thing for my granddaughter. I try as much as I can not to support the proponents of a legal form or persecution almost to the point of slave labor all so that Americans can indulge their greediness and apathy for the people on the other side of their poor-quality cheaply abundant cookie-cutter possessions.


And enough of that.


The chickens have about had IT with the rain. They want spring and warm, not this weird weather we're getitng with cool and damp, warmer and damp, cool and damp, warmer and damp. We all get kinda cranky around those months when it's not winter any more but it's not spring either. I need to get my garden in, need to prune and rake as much as I can, and I need to paint the awful nasty stained inside of the chicken coop. I learned a lot this past year about what chickens can do with poop while they are sleeping. It ends up in the **strangest** places!!! Hubby is working more on the chicken coop. He finally got me another door at the other end of the run so I don't bonk myself in the head so much. I like this door. If it were a bit taller it would be nice, but you're not going to hear me complain.

Well, it's time to get going again. God's blessings on your and yours. Peace to you.

Tuesday, March 17, 2009

Drawstring elastic application - method 2 of 3

Note: To see a bigger photo, click on the one in the entry.

As in method #1, once you get your garment assembled, finish the top edge. For this pair I used a rolled hem - I was playing with my new serger. You can do this, fold over a small amount and straight stitch it, use an overlock stitch, or use a zigzag stitch; whatever you are most comfortable with is fine.

Take your drawstring elastic and cut it your waist measurement minus enough for the elastic part to be comfy, generally 6-8 inches. This, however, varies with your size. Pull out 3-4 inches at each end and knot off to prevent them slipping back inside the elastic. Once you have done this, measure the width of the elastic and then go over to the garment. Using a ruler, measure 2 times the width of the elastic plus 1/4 inch and mark a spot on the fabric with a disappearing marker in a color dark enough for you to see.

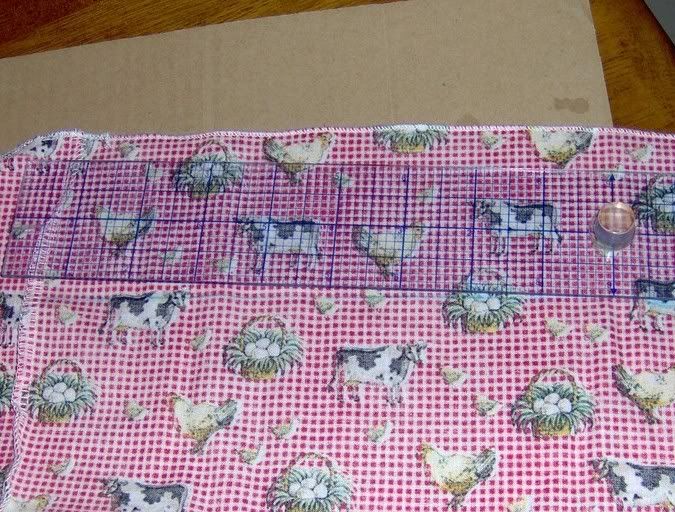
Using the ruler and marker, continue to mark this same measurement all the way around the waist of the garment about every 3 inches. Again, use a washable or disappearing marker and make the lines dark enough for you to see.

Lay the garment flat on your work surface. Using the ruler and marker, connect all the lines you have drawn so far to mark the sewing line for the casing. Make the marking dark enough to see because you will be using this line in a while.

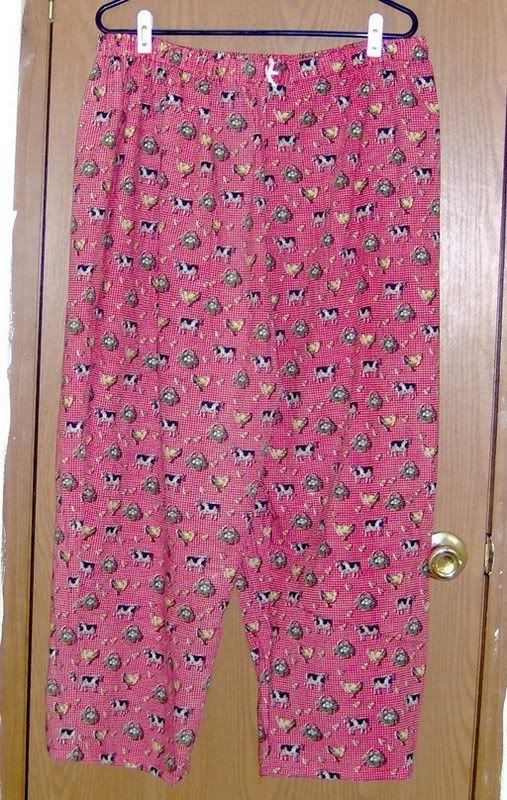
Here is a picture of the line drawn all the way across the fabric of my lounge pants. It's not very dark in the pic but it was clear enough for me.
NOTE: As an alternative, if you don't have a water soluble marker, you can use straight pins to mark your seam line. Don't necessarily run out and buy one if you're only going to use it this one time. I've used pins myself several times and they worked just fine.

Measure the how far up from the bottom of the elastic the drawstring is located. At the center front seam of the garment, go to the bottom line and measure that far up from it. With a dark marker, make a little hash mark on the outside of the fabric to indicate where the buttonholes should be located for the drawstring.

Cut two pieces of fusible interfacing about 2 inches by 2 inches and iron them to the back side of the garment close to the center seam and slightly below the mark for the buttonhole. This will strengthen the fabric in the area where you will be using the drawstring to adjust the waist of the garment.
Make the buttonhole, sewing on the front side of the fabric and using a 1/2 inch button to guide the size of the hole as indicated in the previous method. Use the pins across the ends to provide a guide to safely and gently cut the buttonhole open.
Once the buttonholes are sewn and cut open, fold the top of the garment down and pin it so that the edge lies along the line you drew all the way around the waistline earlier. Leaving an opening in the front of the garment to feed the elastic through, sew a straight line between about 1/4 inch from the finished edge of the fabric. If you'd rather, you can do an elastic stitch or regular zigzag stitch and just guide it to secure the edge of the fabric to the garment. The opening for the elastic should be about 1 to 1/5 inches on each side of the center front seam depending on the width of the drawstring elastic you will be using.

Once the casing seam is sewn, take the drawstring and turn it bumpy side down so the side facing you is smooth and the sewing that encases the drawstring isn't visible. Keeping the bumpy side dwon, take a safety pin or other elastic guide and feed the elastic through the casing, taking care to secure the end that is not being guided though so that it doesn't slip into the casing. You need about 3 inches of each end of the elastic outside the casing in order to finish sewing it.

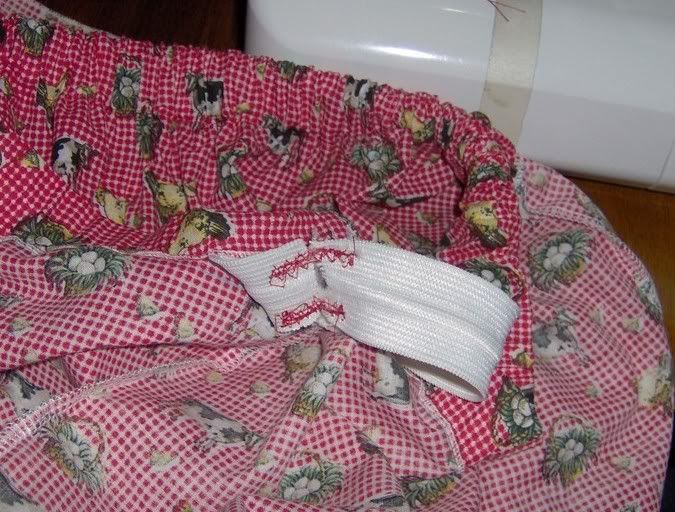
After the elastic is threaded through, you need to put a piece of fabric the width of the drawstring elastic and about 4 inches long behind the elastic so that you can sew the elastic part together. I use a piece of interfacing or scrap fabric. This stabilizes the seam and also gives you a little more protection while you are sewing since the elastic stretches and will get all out of shape. Using a zigzag stitch, start at one end of the supporting fabric and go all the way to the other end. Turn and repeat twice, stretching gently so that the portion of the elastic being sewn doesn't have the feel of being all stretched out and having lost elasticity. Do this stitching on the bottom and top of the elastic, making sure not to catch the drawstring into the stitching line while you're doing it.

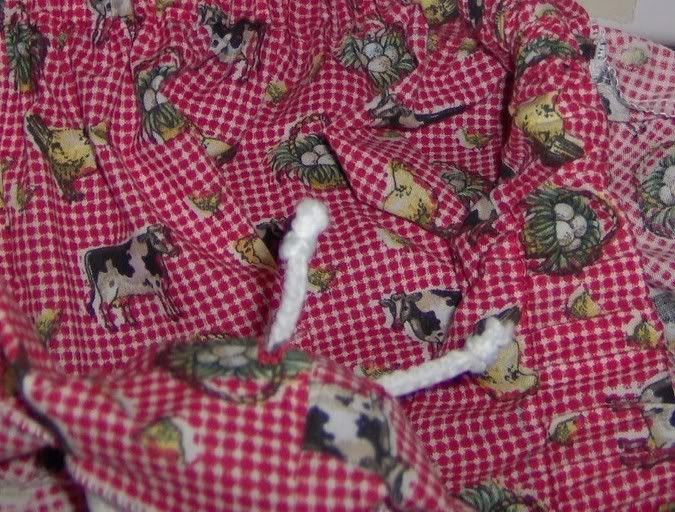
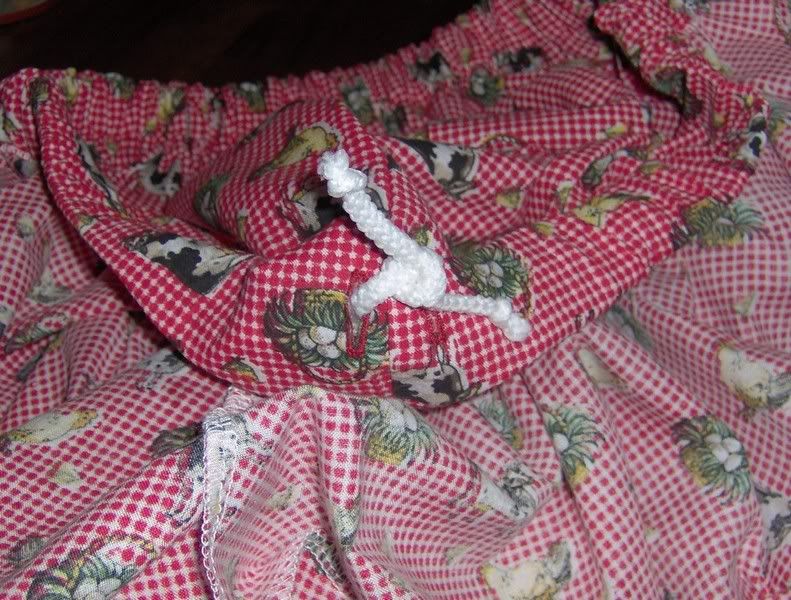
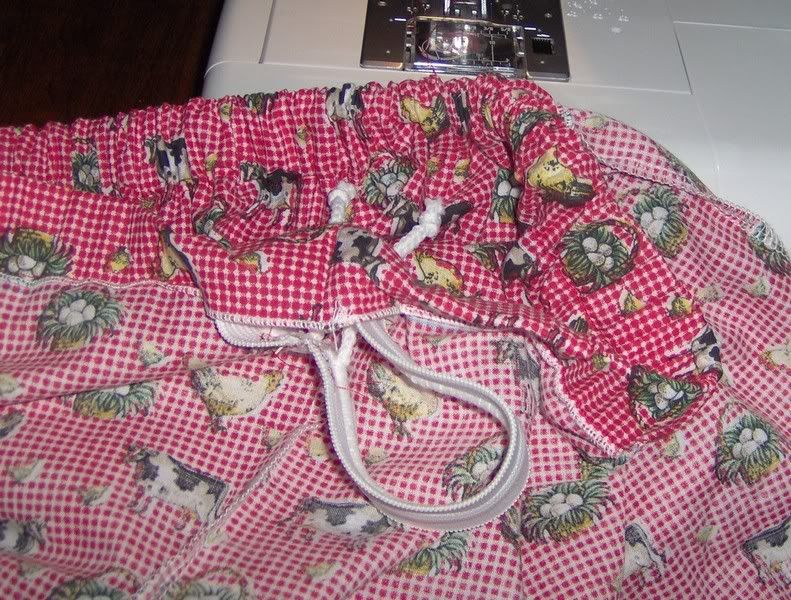
After the elastic is secured, feed the drawstring through the buttonholes and adjust the drawstring elastic inside the immediate area of the casing so that the joining area of the elastic is between the buttonholes and the drawstrings are directly behind the buttonholes. To secure them for the moment, use a straight pin or safety pin and fasten the area with the pins so that it doesn't slide around.

Once the drawstring is through the holes and secured, tie it in a loose knot. This is yet another way to make sure things stay the way they should be. After you tie the knot in the drawstring, take the pins loose so that you can fit the elastic into the casing. You can secure the area between the buttonholes if you wish to by pinning the elastic into place - again, this keeps it from sliding around while the garment is finished.

Take hold of the garment and stretch the casing, working it until the elastic disappears into it. It should not show outside the area that is open. It might take some work depending on how well you made the casing. If it is just a bit tight, it will require extra maneuvering to work the elastic/drawstring combination into the casing. If it is a bit too wide, you may have to deal with the elastic flipping over upside down, at which point you will have to work it back around so it's facing the same direction all the way through the casing.

Now that the elastic is all located inside the casing where it belongs, you can pin the opening in the casing closed and stitch across it with a simple straight stitch, either lock-sewing or backstitching at either end to make sure the thread doesn't unravel. When that is done, turn the garment around and untie the drawstrings. If you wish, you can sew a line up and down where the drawstring and elastic meet to keep them where they belong. However, if you don't want to, it's not a big deal.

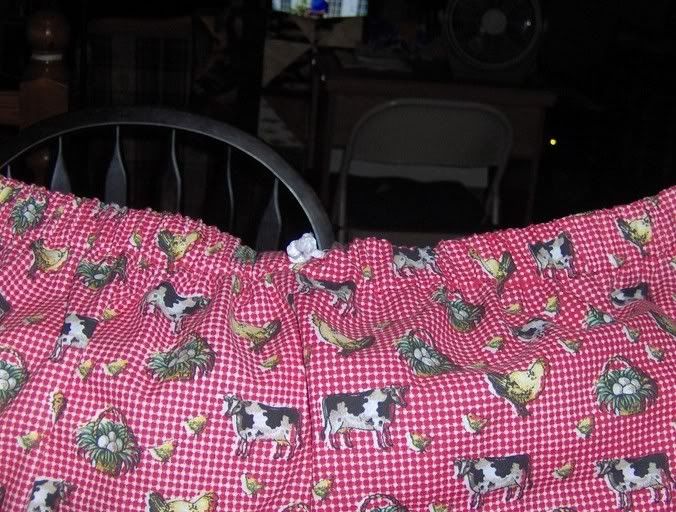
All done!